Eschaton: 7DRL Development Process - Part 1
Eschaton: noun, the final event in the divine plan; the end of the world.
I was sitting with my friends Kranzky, Beetlefeet, and Chr1sm when the subject of the 7DRL came up. It was happening in a week's time - it seemed like fun. Should we do it? Beets was keen, and so was I. I'd kind of wanted to make something roguelikeish for Global Game Jam 2021, but there hadn't been enough time to approach the kind of roguelike game I really wanted to make (I ended up with 'Keeper', an unfinished rpg-lite: I might continue with it at some point!). One with ascii graphics and a really retro feel, different items to identify, and the feeling that you don't really know where your adventure is going to take you. Was 7DRL 2021 my chance?
Perhaps. So I said yes.
Design Influences
So I'm a fan of pretty oldschool roguelikes - the original Rogue (Hack was the first I played), Nethack, Angband, etc. ADOM was a huge influence on my roguelike sensibilities. Dungeon Crawl Stone Soup is a lot of fun (great procrastination tool). So I was pretty set on doing something ASCII based - having never done anything like that before. I still like pretty, colourful things, which is why I also really like Brian Walker's Brogue. Definitely there are aspects of Brogue's UI design that I admire - interface and controls being a really big part of roguelike design consideration, but even more so I just like its pretty, animated coloured tiles which glimmer and flicker as you walk around. So that was a starting point for 'something like this'.
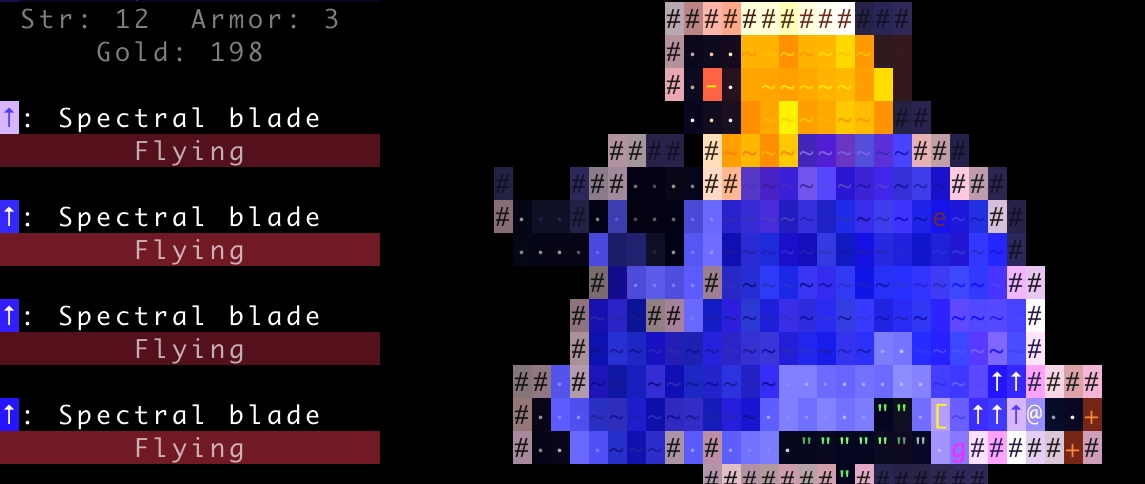
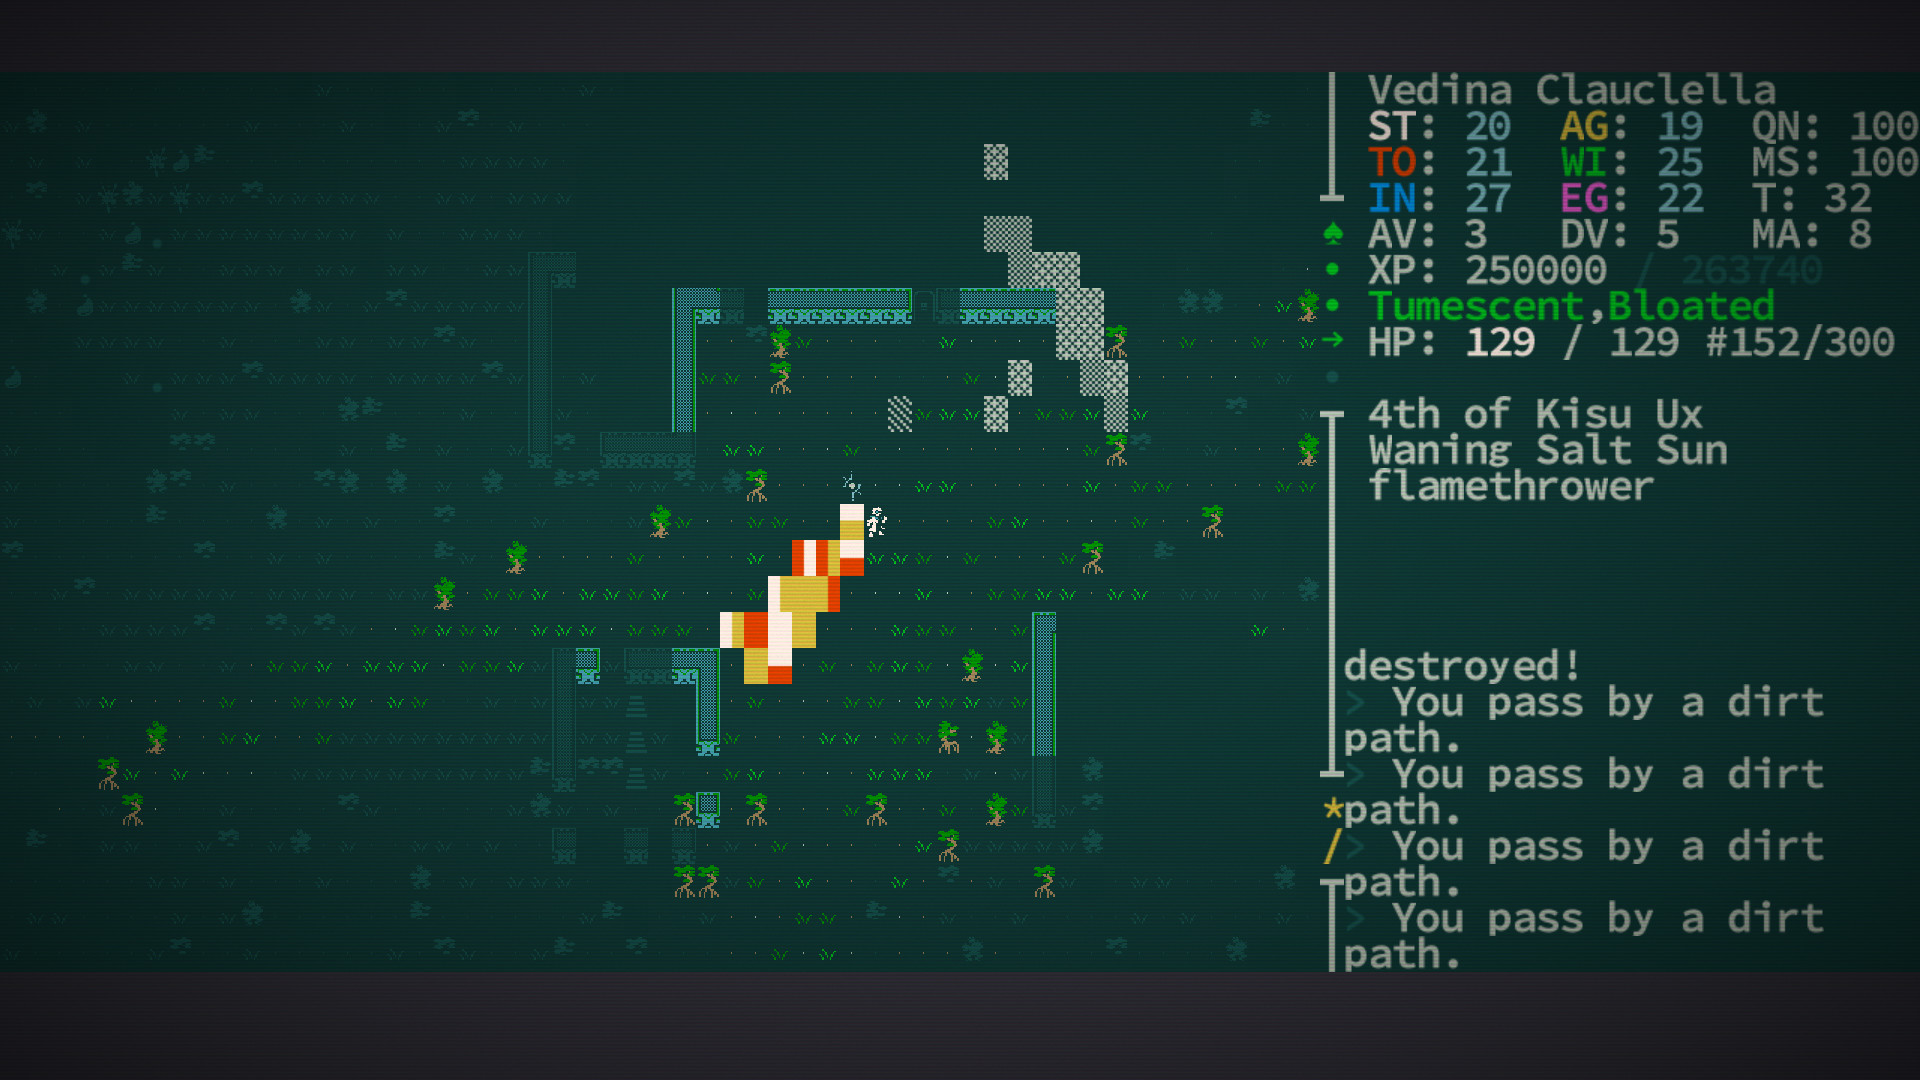
Another roguelike I really enjoy is Caves of Qud. CoQ has a lot going for it - a very malleable character creation and development system with varied and exciting effects which are thematically possible because of the games 'Gamma World' like setting, with mutants and so forth being common. So I was drawn to doing something different from a sword-and-sorcery type roguelike (as much as I like many of the examples above) - I wanted to do something more post-apocalyptic, a bit more open world and 'everything's a bit broken' feeling. Years ago I played an early build of Cataclysm: Dark Days Ahead and found I really enjoyed that kind of setting - so thematically I decided I was going to go for a post apocalyptic world with some radioactive gameplay elements that can give players power, but also hurt them. An emphasis was going to be on survival, which is common in roguelikes - so you'll be aware of your nutrition and hydration stats, and you'll be looking for uncontaminated sources of water and food (a-la DayZ), and needing to keep yourself healthy to even be able to participate in combat (like Escape from Tarkov).
But something about Caves of Qud warranted further investigation - I really enjoy the retro aesthetic it has with some scanlines: I get the feel of an oldschool CRT monitor, and somehow that enhances the setting for me. So that's another thing I want - I put it on the laundry list.
With a vague gameplay design and some fairly concrete aesthetic ideas, I jumped in.
Getting Started
So of course, with all work in procedural generation, game systems, inventory, combat, items, and character suvival ahead of me, the very first thing I set to work on was getting the aesthetic I wanted.
Of course it was.
That dig at myself isn't entirely fair: I do need to get some kind of ASCII system working, since I'm used to working in either 3D with models and terrains or 2D with tilesmaps and sprites. I'm using Unity because that's what I'm familiar with, but my main rule here is to try to make most if not all of the systems in pure C#, so that they could theoretically run in a console / terminal if they had to. In this case, Unity is just going to be a fancy renderer and input handler, but I am going to use it to get some of my retro aesthetic.
ASCII Graphics
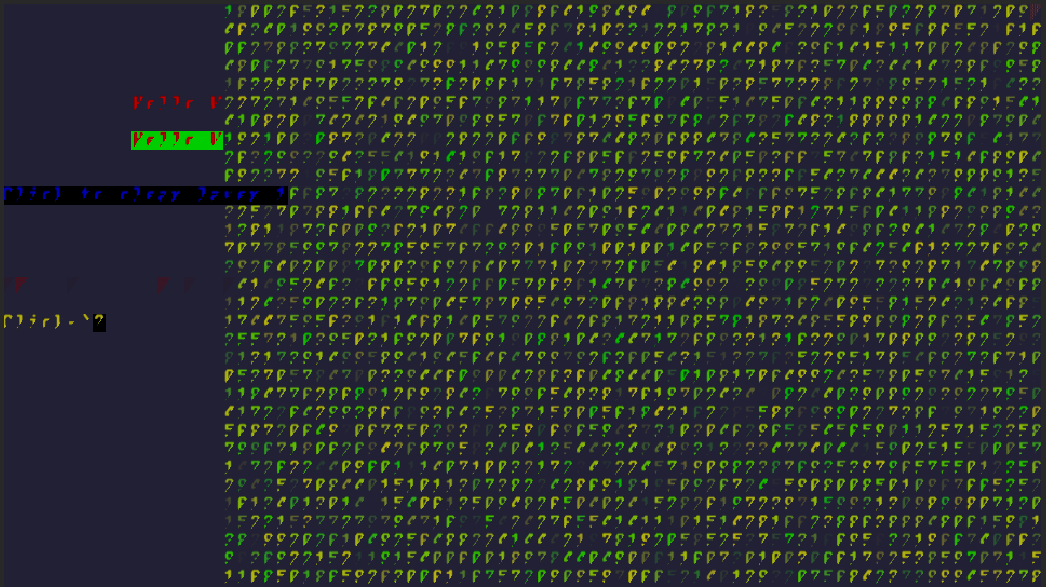
I had seen the excellent and simple PhiOS from phi6 when considering an RL for GGJ2021 - but I had tried it out and it didn't seem to work with Unity 2019/2021. All the ASCII tile cells rendered as these triangley half-quads, so I suspected some kind of UV issue, but digging into the code at the time I couldn't quickly see the problem so I gave up.
Time to do some more digging.
I worked backward through the rendering layers of the code (there aren't many) - worried that there might be issues with how the bitmap font class works, or the code that combines quads into a single mesh to be displayed on screen. but it turned out that the issue in the end was just a simple vertex ordering issue. The original code (edited for brevity) had:
// calculate glyph vertices
vertices[0] = new Vector3(0f + xOffset / glyphWidth, ...
vertices[1] = new Vector3(1f * (width / glyphWidth) + ...
vertices[2] = new Vector3(1f * (width / glyphWidth) + ...
vertices[3] = new Vector3(0f + xOffset / glyphWidth, ...

// calculate glyph uvs
uvs[0] = new Vector2((x / textureSize) + ...
uvs[1] = new Vector2(((x + width) / textureSize) - ...
uvs[2] = new Vector2(((x + width) / textureSize) - ...
uvs[3] = new Vector2((x / textureSize) + ...
This looks fine, but the ordering (hard to see since I've edited out the Y coordinates) is:
- [0]: (0, 0)
- [1]: (width, height)
- [2]: (width, 0)
- [3]: (0, height)
Looking a the Unity Documentation, the order should actually be:
- [0]: (0, 0)
- [1]: (width, 0)
- [2]: (0, height)
- [3]: (width, height)
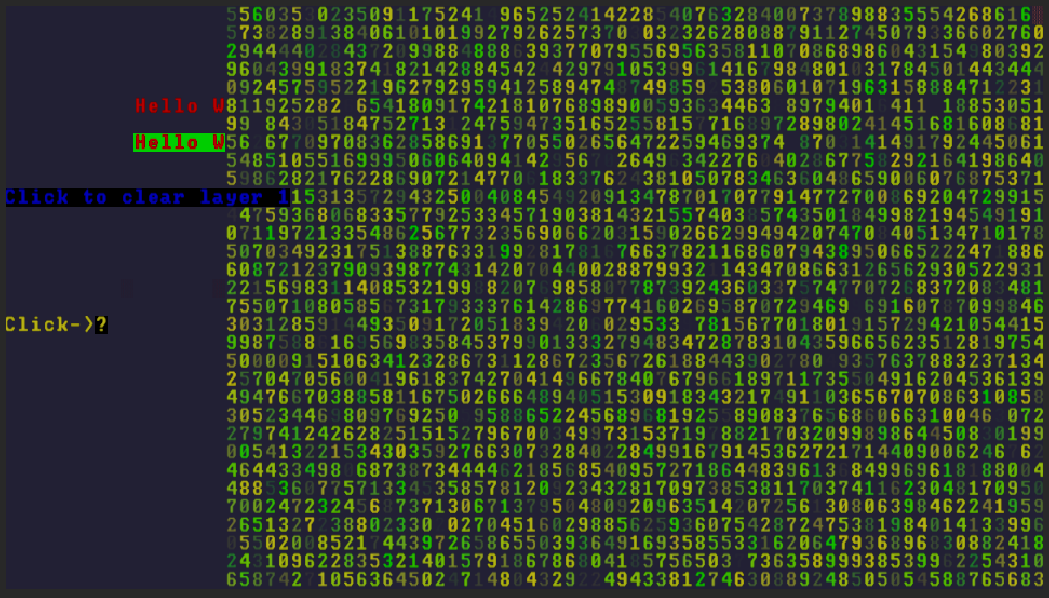
So this wasn't a huge change - I just had to reorder the vertices and uv's from 0, 1, 2, 3 to 0, 3, 1, 2 - which is exactly what I did. This gave me a correct image. A start! (which reminds me, I must submit a pull request for the PhiOS github...)
Scanlines
The next thing I wanted was scanlines - to make it look like an oldschool CRT. I'm using Unity's Universal Render Pipeline which does have its own postprocessing built in - and has effects for bloom and chromatic aberration, which I will also use. But no scanlines - I had to write my own. I'd seen a tutorial for something similar, but it used the Postprocessing V2 stack, and I didn't want to use that - I wanted to use what was built into the URP. Having found one approach as a raw image effect script/shader attached to the camera, and looking into Unity's documentation and examples for render features (starting with a simple blit), I modified their example and incorporated the scanlines code from aaaleee to arrive at a scanlines render feature for URP. I applied it, plus the bloom and chromatic aberration. Success!
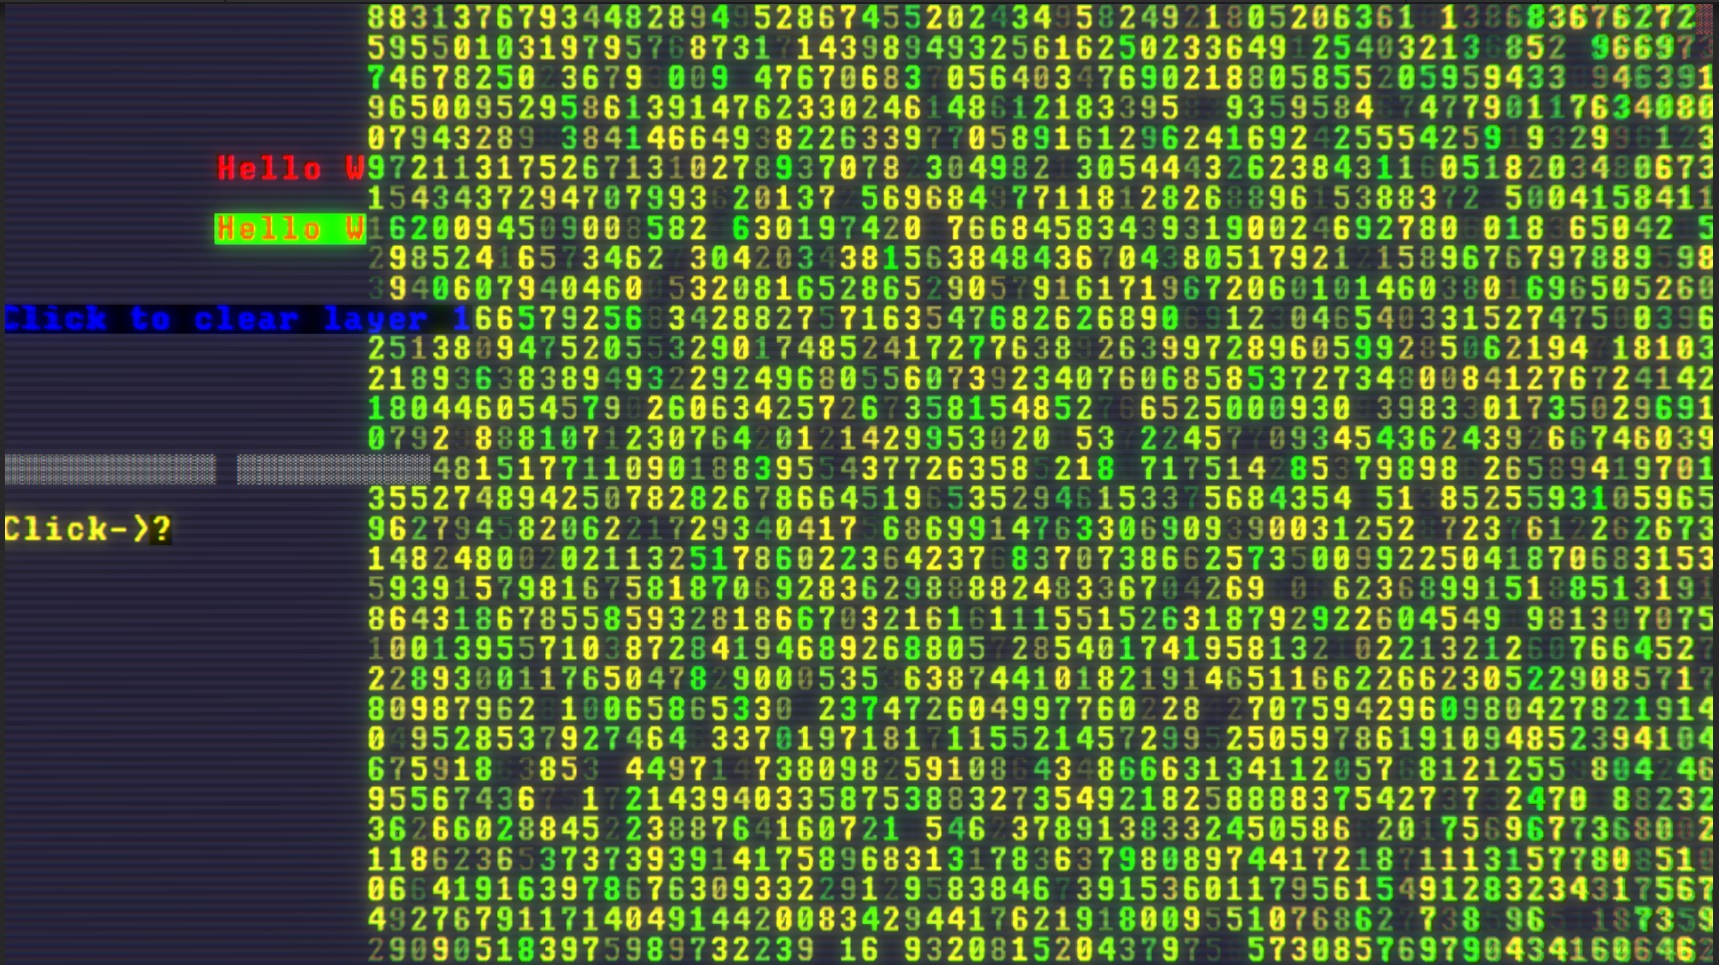
So now I can actually get started on the game.
The Game
My first task was to make something that could represent a screen of characters - a grid of x and y points: this meant I needed a GridPosition class which holds x and y values and some common operations on them (adding, subtracting, finding the distance between points, etc). For colours I was also going to need an RGB class to hold red/green/blue values, and similarly I needed operators for this class, just for convenience (I'm mentioning this because it is important later!). I made a few random number convenience functions, and a cool GridRect class that could give you top/right/bottom/left values, check its own bounds, and return all its positions as an iterator/enumerator. Then I can do things like:
foreach (GridPosition pos in myGridRect)
{
    //do something at this x/y position...
}
I'm mentioning this because it will be important later too! But for now - it's easy to chuck stuff on the screen, and you can see how I can create a GridMap class which is some kind of fancy GridRect, able to hold GridEntities. I add some simple stand-in UI for character stats at the top of the screen, and messages at the bottom of the screen. Here's where we are by the end of about Day 2:

That's it. I can't move, I can't do anything. But there's some nice colour variation in the grass and those things that look like buildings. I think that's a good start...
In the next post I'll talk about creating some more UI, the action system, items/inventory/equipment, and where the game ended up at the conclusion of the 7 days.
Leave a comment
Log in with itch.io to leave a comment.